# Calizy Pro - Web
# Calendar views for Non-Admins
Calendar overview (“All”)
Main calendar view when logging in to Calizy Pro Web
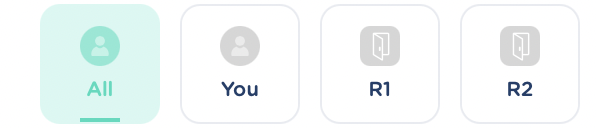
Displaying full overview of all content in User Calendar + Room Calendar(s)
User calendar (“You”)
- User's own calendar

- Displaying all Events and Events from Appointments + Reserved Slots and Unavailabilities booked for the User
Room Calendar(s)
- choose Room icon

Displaying all Events and Events from appointments booked in the room chosen
- Events from Appointments: View/Edit own Events
- Events in rooms: Create/View/Edit own Events
- Non-admin can see other Events and Events from Appointments scheduled in the room, but cannot View/Edit any details
Displaying scheduled Lunch Break for the branch the rooms are located in (the rooms are unavailable during scheduled Lunch Break)
# Calendar views for Admins
Calendar overview ("All")
Main calendar view when logging in to Calizy Pro Web

Displaying full overview of all content in User Calendar(s) + Room Calendar(s)
User Calendar(s) (“You” + other users in Branch)
Choose user icon

Displaying all Events and Events from Appointments + all Reserved Slots and Unavailabilities booked for the user chosen
Room Calendar(s)
Choose room icon

Displaying all Events and Events from appointments booked in the room chosen
- Events from Appointments: View/Edit for all users
- Events: Create/View/Edit for all users (except Private Events)
Displaying scheduled Lunch Break for the branch the rooms are located in (the rooms are unavailable during scheduled Lunch Break)
Tip! You can choose to see multiple selected user/room calendars by selecting multiple icons
# Calendar content
in Calizy Pro you will have 4 different types of calendar content:
- Events
- Events from Appointments
- Reserved Slots
- Unavailabilites
# Events
Events can either be imported from the user's external calendar (Outlook or Gmail) or be created directly in the Calizy Pro Calendar by the user.
Create event
To create an event in Calizy Pro the user has 2 options:
- Create an event without a room
- Event is booked by clicking on an available time slot in the user's calendar
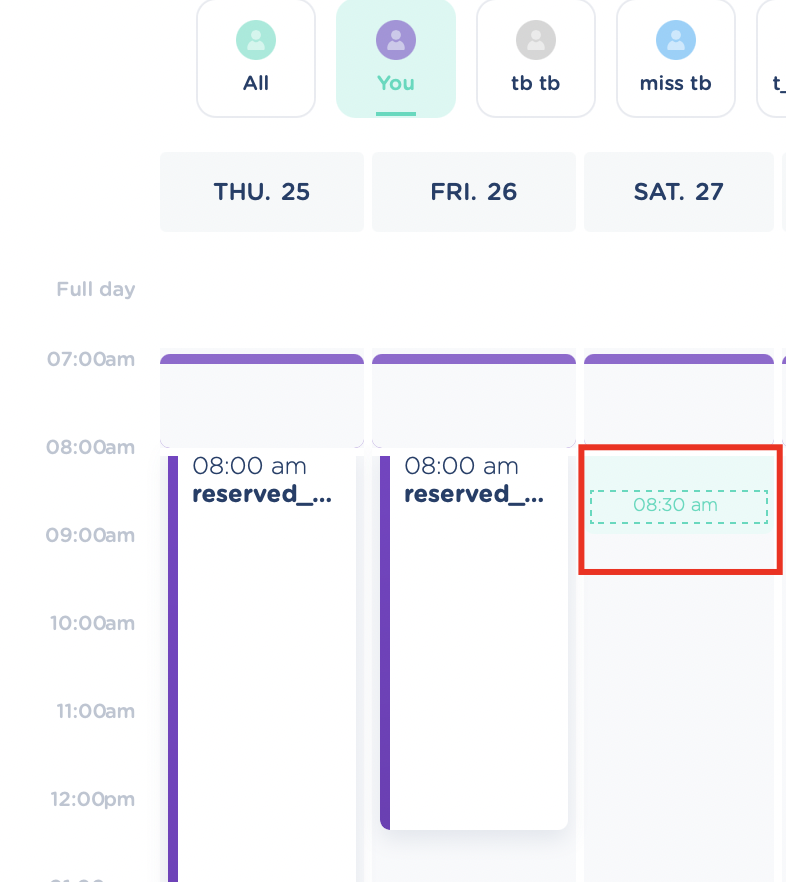
- Event is booked by clicking on an available time slot in the user's calendar
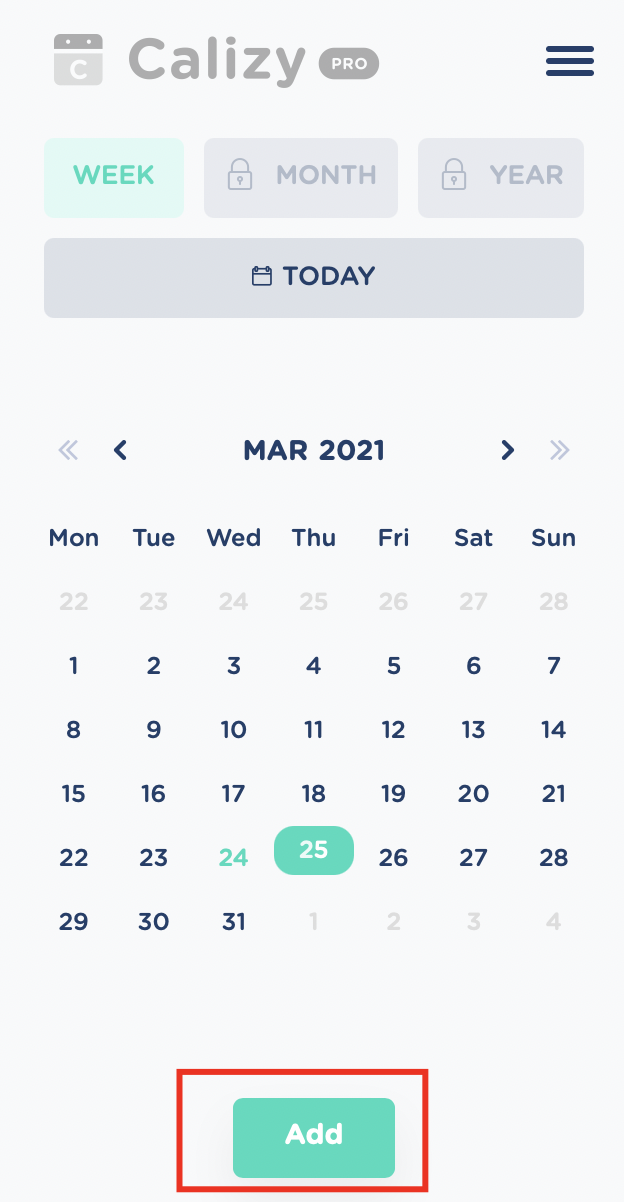
- if the user's calendar is booked in the time slot it is possible to add a new event in the same time slot using the "+" button below the navigation Calendar (left-hand side of the screen)
- Create an event in a room
- Event is booked by clicking on an available time slot in the room's calendar

The user now has to fill in data for the event to be created.
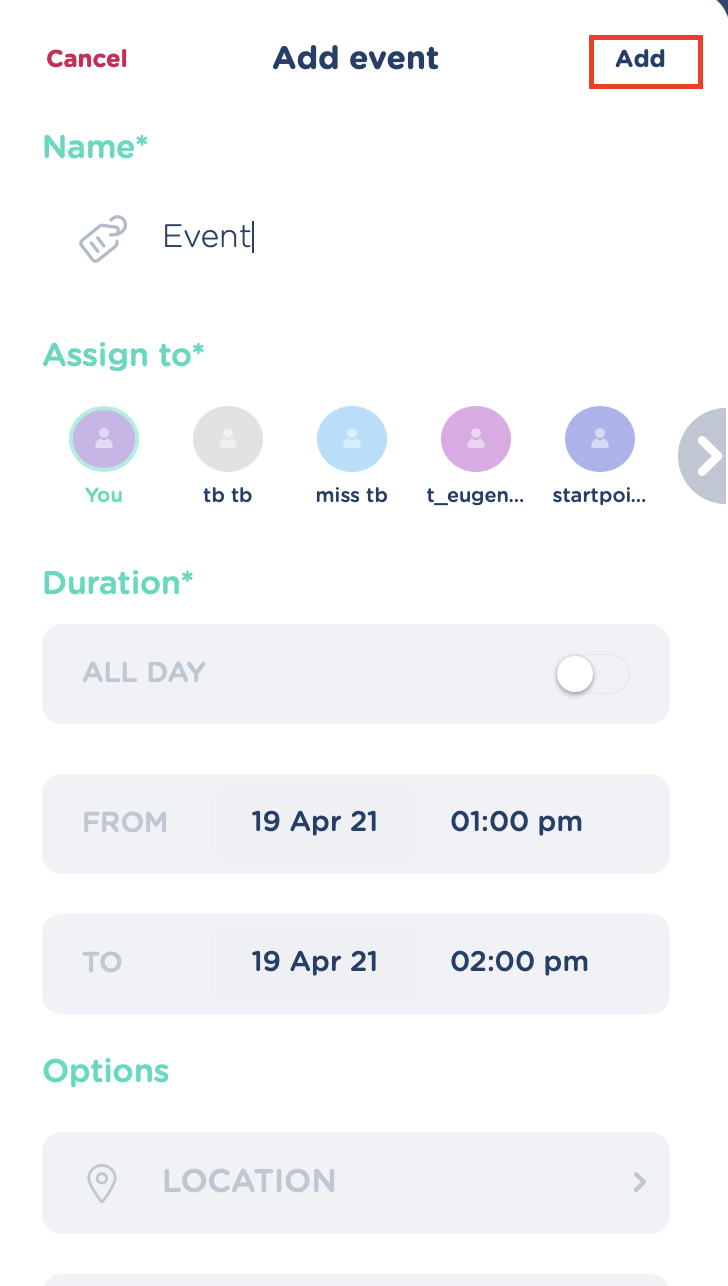
General event creation details
When creating an event there are 3 sections data: “Name”, “Duration” and “Options” (all users) If user is an Admin an additional section: “Assign to” will be visible.
- “Name” (Mandatory) User has to give a name to the event in order for it to be saved and displayed in the calendar

- “Assign to” (Mandatory) - Admin only! User must select which person the event is created for
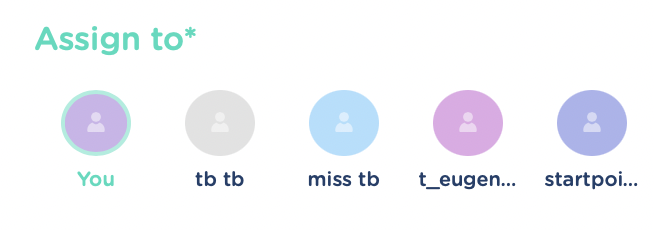
If the event is to be added to user’s own calendar, choose the “You” icon
If the event is to be added to another user in the branch, choose the icon for this user
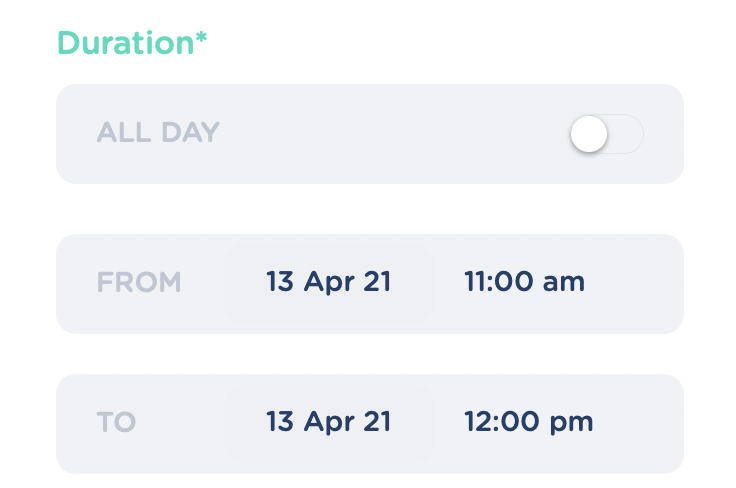
“Duration” (Mandatory) User must define a time slot for the event. This can be done by either choosing “From” (date, time) and “To” (date, time) or by switching on the “All day” selector
- “Options” (Optional)
User can choose to add one or more of the following features to the event:
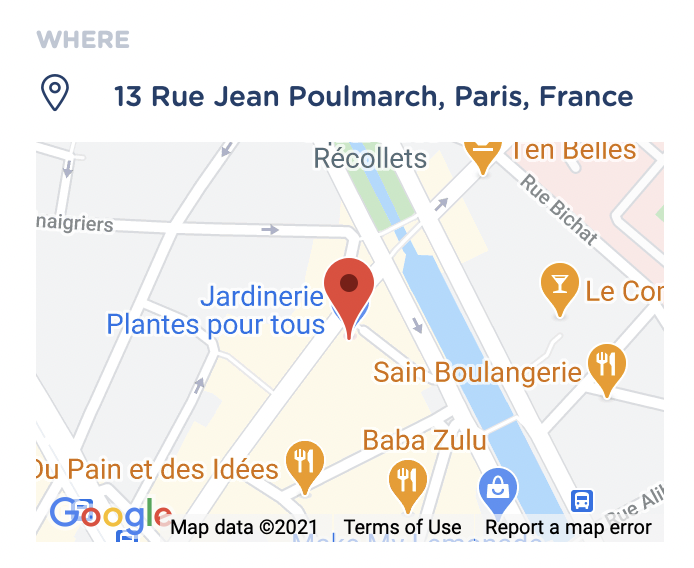
- “Location” If you want to add a location to the event, click the location field and you will get to ‘Location’ page where you can search for addresses.

When you start typing in data for the address the search functionality will give you a list of suggestions based on your input
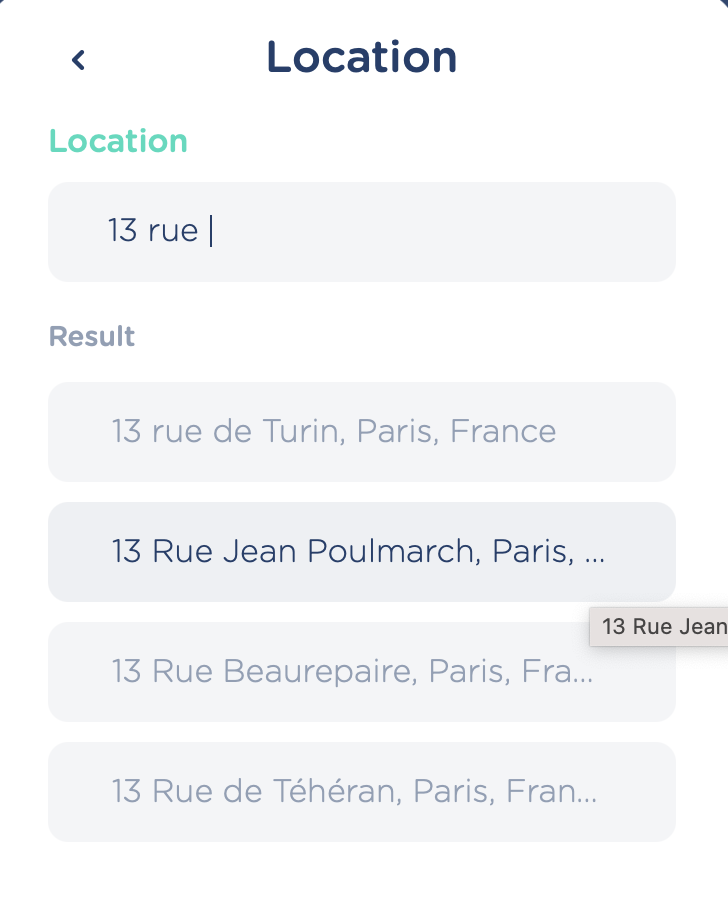
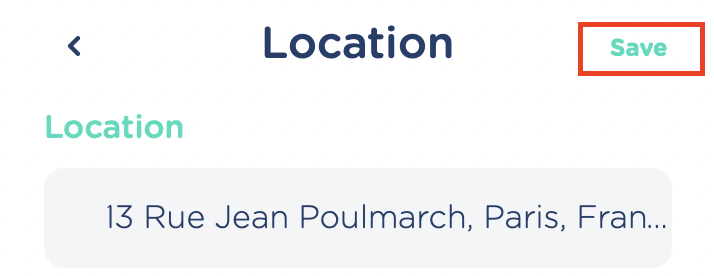
Click on the address you want to add to your event and click on ‘Save’ in top-right corner to save the address to the event
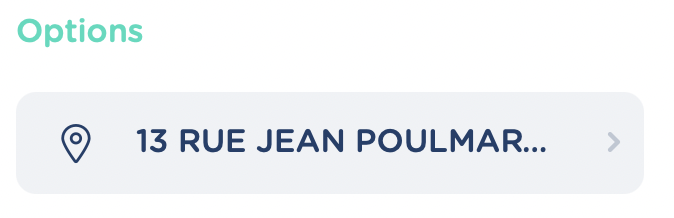
The address will now be visible in the “Options” section
After your event is created you can see the location pinned on a map on Event Details when opening the event
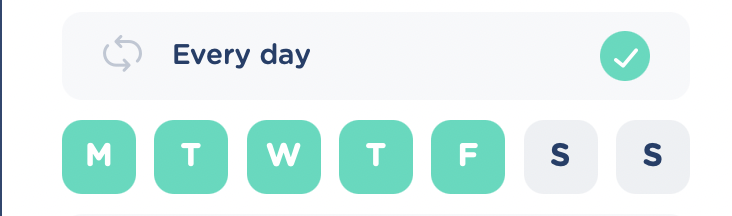
- “Recurrence” If you want your event to be recurring click the Recurrence field and add frequency: "Recurrence is off” (default setting). The event will only be created for the specific timeslot defined in “Duration” section “Every day” The event will be repeated on the days you select (default setting = Mon-Fri):
“Every week” The event will be repeated weekly on the week day defined in “Duration” section for the first instance of the event
“Every month” The event will be repeated monthly on the date defined in “Duration” section (e.g. Event is created for 12. April with monthly recurrence = Event will be created for 12. May, 12. June, 12. July etc.)
“Every year” The event will be repeated every year on the date defined in “Duration” section (e.g. Event is created for 12. April 2021 with yearly recurrence = Event will be created for 12. April 2022, 12. April 2023, 12. April 2024 etc.)
After selecting the recurrence you want click on ‘Save’ in the top-right corner to add the recurrence to your event. The recurrence frequency will now be visible in the ‘Recurrence’ field

- “Reminder” If you want to get a reminder for your event click the “Reminder” field to get to the “Reminder” section where you can choose when you want to receive your reminder from a predefined list of options
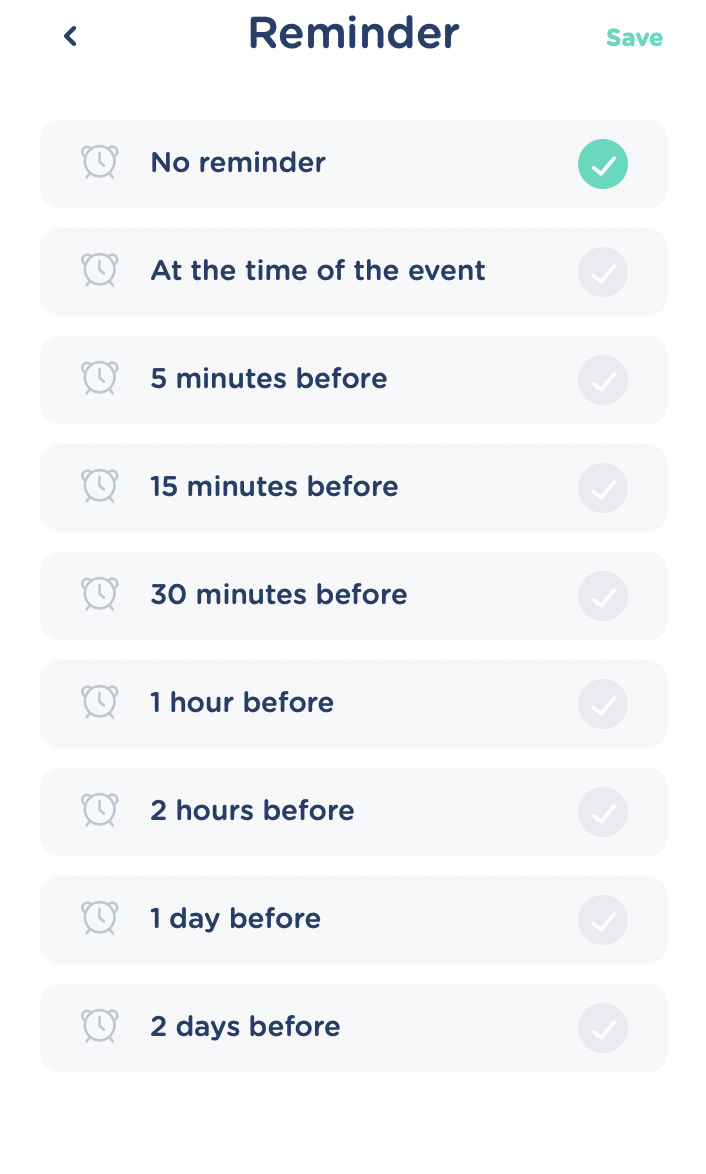
Select your preferred time for the reminder and click “Save” in the top-right corner to add the reminder to your event. The time for the reminder will now show in the “Reminder” field

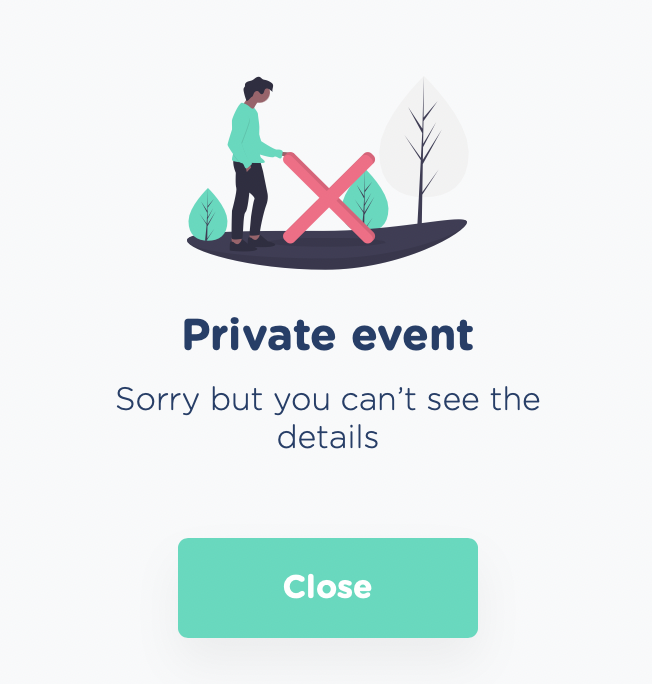
- “Private event” If you want the details of your event to be hidden from Admin users switch on the “Private event” selector.

When adding “Private event” to your event Admin users will see “Private event” instead of the name of the event in your calendar and this notification when trying to open the event:
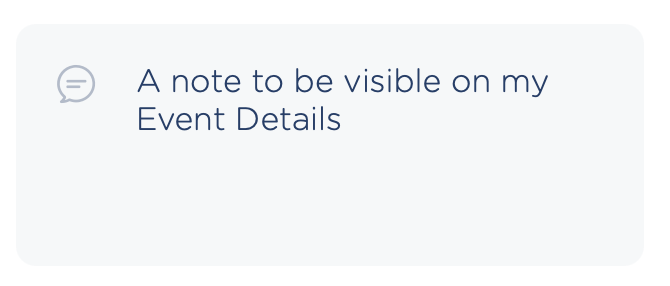
- “Notes”
You can add a note to your event if you need to specify details or remind yourself about something. The note will be visible on Event Details when you open the event after creation.
To add a note just write any text you need to add in the “Note something” text field
After filling in all required data simply click ‘Add’ in the top-right corner of the event:
Event creation details for Event in a Room only
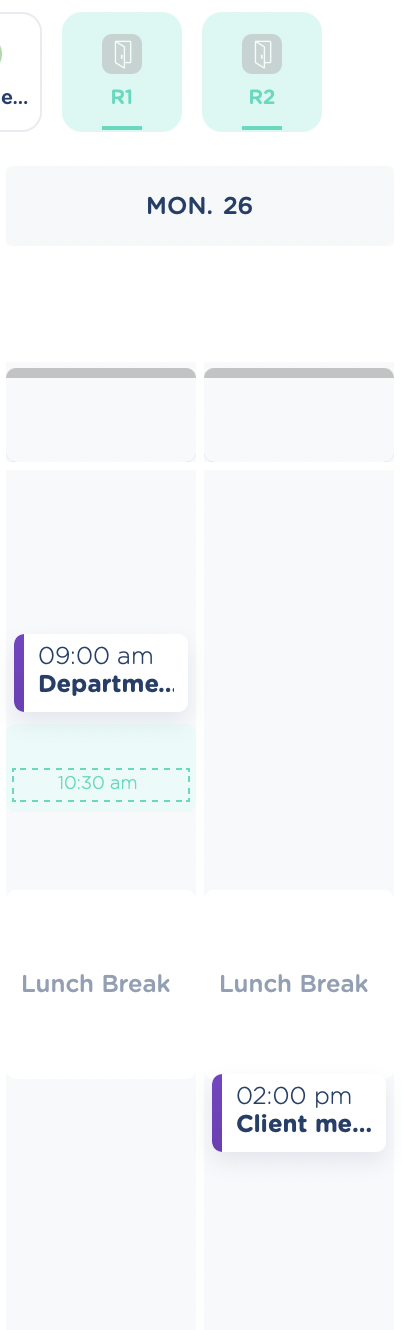
To create an event in a room activate the room calendar by selecting icon(s) for the room(s) you want to see the availability of.
In the room calendar you will see:
- Booked events (room not available)
- Lunch Break (room not available)
- Grey areas (room available)
Hover your cursor over the grey areas to select an available times lot
You can now fill in the data for your event. The creation process is almost the same as when creating an event without a room (see General event creation details above):
- “Name” (Mandatory), see details above
- “Assign to” (Admin only, Mandatory), see details above
- “Duration” (Mandatory), - see “Duration - Event in a room” below
- “Options” (Optional)
- “Location”, see details above
- “Recurrence”, - see “Recurrence - Event in a room” below
- “Reminder”, see details above
- “Book a room”, - see “Book a room - Event in a room” below
- “Notes”, see details above
Duration - Event in a room There are a few limitations when choosing duration of an event in a room. Availabilities of rooms in your branch are controlled by the Branch Working Hours (see https://docs.calizy.com/internal-appointments/calizy/book-an-appointment/timeslots-computation.html#general-idea). If the working hours of the branch includes a lunch break, rooms cannot be booked within this timeslot. You will therefore also be unable to book a room with 'All day' selector switched on.